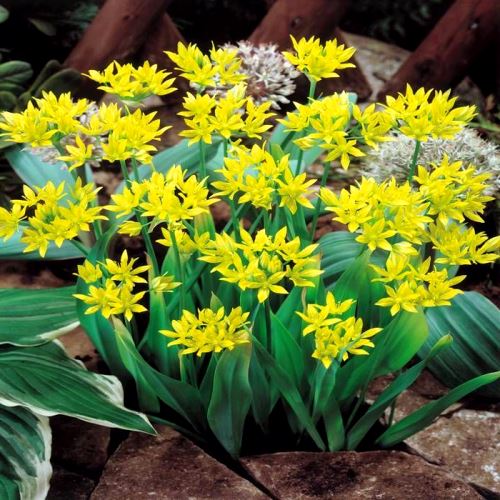
Allium Bulbs Growing Tips
Alliums are incredibly long-lived and flower for ages. The ones shown here in my garden at Perch Hill have been coming back year after year for the last twelve years. I love them for adding late spring and summer pizzazz, bringing strong colour and shape to the border. Plus they are excellent for cutting in flower or as seedpods, which I use for Christmas decorations.
Soil and Site
Full sun in well-drained soil (add grit on heavy soils). Nectaroscordum will take some shade and self sows so take care where you plant it.
Spacing
The small and middle sized alliums (A. cowanii, ‘Hair’, ‘Purple Sensation’, sphaerocephalon, atropurpureum and Nectaroscordum) can be planted en masse. Depending on the size of the bulb, plant 10-15cm deep and 10-15cm apart. I tend to plant in good drifts, rather than in twos and threes to avoid a dotty look.
The larger varieties (A. ‘Globemaster’, cristophii, ‘Purple Rain’ and schubertii) can be planted in groups or individually at a depth of 15cm, but need more space for their much larger heads: A. cristophii and ‘Purple Rain’ need to be at least 30cm apart, and ‘Globemaster’ and schubertii need spacing at 30-45cm.
Planting in soil
To make them more perennial, bulbs should be planted deeply, at least twice the depth of the bulb. Dig a hole or trench, and on heavy soil spread a 5cm layer of grit (or spent compost) all over the bottom. Push your bulbs into the bottom of the trench/hole, leaving a gap of at least 3 times the bulb width between each bulb (see above) and then cover them up – if on heavy soil, mix in about one-third grit to two-thirds soil. After planting, firm the ground with your hand (using your feet can trample the crowns) to get rid of air pockets – watering will help this too.
Planting in pots
Bulbs should be planted in pots at the same depth as bulbs grown in the ground. This may not always be possible with the largest bulbs as it’s important that a large bulb has at least 4cm of compost beneath it. Use good quality multi-purpose compost and top-dress the pot with a generous layer of grit.
In large pots containing multiple bulbs, plant them one bulb width apart in lasagne layers, one layer of one variety, the next layer the next and so on, with the smallest bulbs forming the layer nearest the top. Cover with compost and firm well.
After care
All bulbs do best if you minimize the number of leaves you cut when you pick the flowers. When you cut, make sure you leave a short section of the leafy part of the stem to give the bulb a chance to make enough food to survive through the dormant period.
It is also important to leave the browning foliage on your bulbs until every leaf has died right down. Don’t be tempted to clear them up until every leaf is completely brown. This is the time when bulbs photosynthesise and create food, stored in the bulb to help next year’s flower. If you remove the leaves half way through this process, you’re less likely to have a flower the following year.
I don’t lift any of my bulbs in the garden; planted deeply and mulched with a generous blanket of mushroom compost I leave them in the ground to over-winter.
Feeding
On poor soil, it’s worth giving almost all spring-flowering bulbs a potash feed in the early spring. This helps with root and bulb formation and will encourage them to stick around and flower on and on for years.
FAQs:
What is the Return Policy?
This product is Not Returnable. It may be replaced or refunded in case of damage or defective condition on a case to case basis.
How to cancel my order?
Cancellation for Live Plants is allowed before the dispatched. You can request cancellation through Your Orders page or by contacting customer service within that time.
What if i received damage product?
If a product is received in a damaged or defective condition, you need to contact the customer service within 1 days of delivery. Free of cost replacement or refund claim is available to you.


